Comprehensive instructions for setting up and using your Dysaky hardware wallet safely and effectively.
Download Full PDF Guide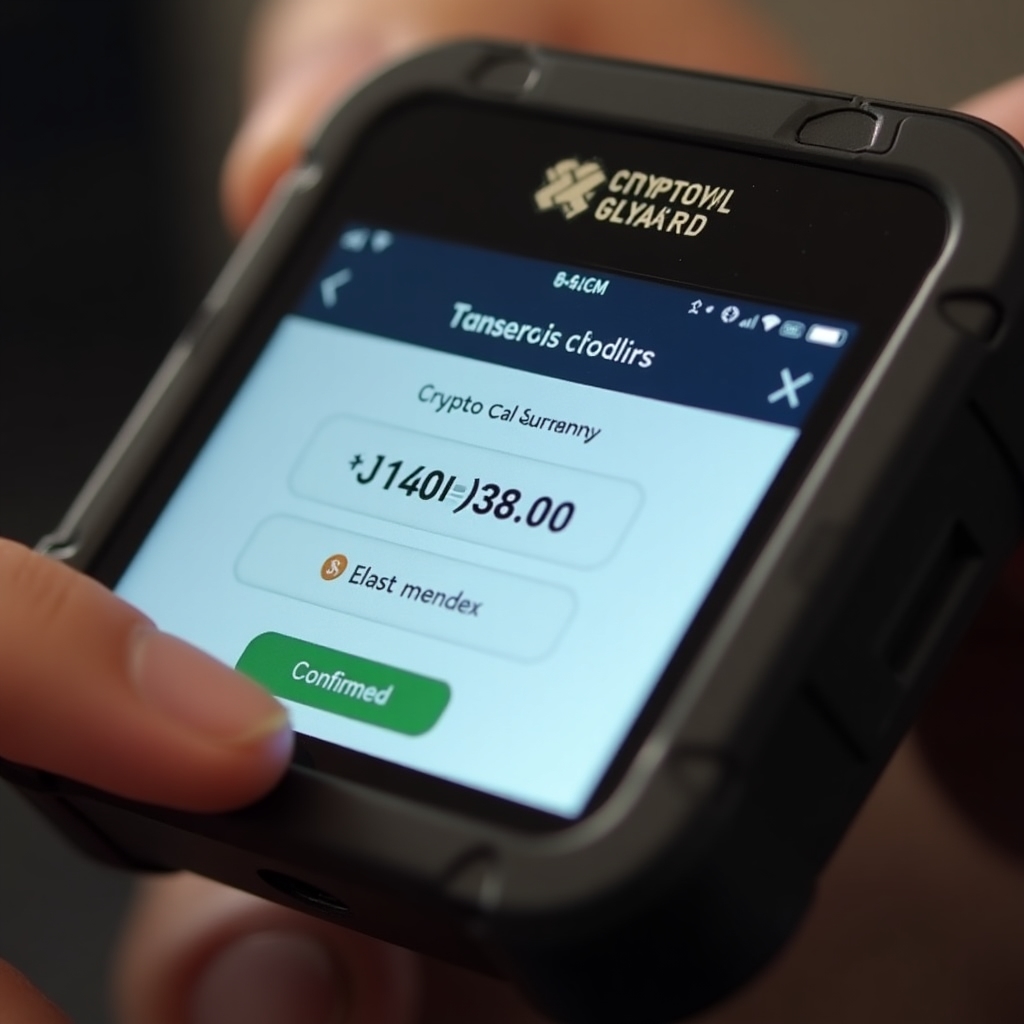
Our comprehensive user guide is available in multiple formats. Please select your preferred format below:
Note: By downloading this guide, you agree to our terms of use. This document is for Dysaky customers only and should not be redistributed without permission.
Before setting up your Dysaky device, verify the package integrity. Check that the tamper-evident seals are intact and the device shows no signs of physical tampering. Each device comes with a unique authentication code that you can verify on our website to ensure you've received a genuine product.
Security Tip: Never use a device if the packaging appears tampered with or if the device itself shows signs of prior use. Contact our support team immediately if you have concerns.
Connect your Dysaky device to a power source using the provided USB cable. For maximum security, we recommend using a wall adapter rather than a computer USB port for the initial setup. The device will automatically power on and display the welcome screen. Follow the on-screen instructions to select your language and begin the setup process.
Your device will automatically verify the firmware integrity upon first boot. This ensures that the device has not been compromised with unauthorized software. The verification process takes approximately 30 seconds. Once complete, you'll see a confirmation screen with a green checkmark if the verification is successful.
Set up a strong PIN code to protect access to your device. Your PIN should be between 6-8 digits and should not use easily guessable sequences (like 123456) or personal information (like birthdates). The device uses a randomized keypad layout to prevent shoulder-surfing attacks, so take your time when entering your PIN.
Important: Remember your PIN! If you forget it, you'll need to reset the device and restore from your recovery seed. After 3 incorrect PIN attempts, the device will implement a time delay. After 10 incorrect attempts, the device will automatically wipe itself to protect your assets.
Your device will now generate a unique recovery seed phrase (12, 18, or 24 words depending on your security preferences). This seed is the backup of your private keys and the only way to recover your funds if your device is lost or damaged. Write down each word carefully on the provided recovery sheet, double-checking the spelling of each word.
Critical Security Warning: Never store your recovery seed digitally (no photos, no digital documents, no cloud storage). Never share your recovery seed with anyone, including Dysaky support staff. We will never ask for your seed phrase.
To ensure you've correctly recorded your recovery seed, the device will ask you to verify several randomly selected words from your seed phrase. Enter the requested words when prompted. This verification step is crucial—if you've made a mistake in recording your seed, this is your chance to correct it before using the wallet.
Download the Dysaky companion app from the App Store or Google Play Store. Open the app and follow the instructions to pair with your device. The app will guide you through the connection process, which typically involves scanning a QR code displayed on your device screen.
Once connected, you can add cryptocurrency accounts through the companion app. Select "Add Account" and choose the cryptocurrencies you wish to manage. The device will generate the necessary keys for each cryptocurrency you select. This process is completely secure as all key generation happens within the device's secure element.
Congratulations! Your Dysaky device is now set up and ready to use. You can now receive cryptocurrency to your secure hardware wallet and make transactions with peace of mind, knowing your private keys never leave your device.
Security Tip: Always verify the receiving address on your hardware device's screen, not just in the app. This protects against address-swapping malware on your computer or phone.
Important: Always double-check the recipient address and amount on your device screen before confirming. Once confirmed, cryptocurrency transactions cannot be reversed.
Set up multi-signature wallets requiring multiple devices to authorize transactions. Ideal for business accounts or shared funds. Available on Pro and Enterprise models.
Learn MoreCreate secondary wallets with separate PINs for additional security or privacy. Perfect for travel or situations where revealing your primary wallet might be undesirable.
Learn MoreSet spending limits, whitelisted addresses, and time-based restrictions to enhance security and prevent unauthorized transactions.
Learn MoreIf you forget your PIN, you'll need to reset your device and restore it using your recovery seed phrase. This process will erase all data on the device and return it to factory settings. After resetting, follow the initial setup process but select "Restore Wallet" instead of creating a new one. You'll be prompted to enter your recovery seed words in the correct order. Once completed, you'll set a new PIN and regain access to your cryptocurrency accounts.
This is why properly recording and securely storing your recovery seed is so important—it's your only backup if you forget your PIN or if your device is lost or damaged.
Firmware updates are delivered through the companion app. When a new update is available, you'll receive a notification in the app. To update:
Never disconnect your device during a firmware update, as this could render it inoperable. If the update fails, the device will automatically revert to the previous firmware version.
Yes, Dysaky uses the industry-standard BIP39 protocol for generating recovery seeds. This means your seed is compatible with most other hardware and software wallets that support this standard. If you need to access your funds without your Dysaky device, you can import your recovery seed into compatible wallets.
However, we strongly recommend only doing this in emergency situations, as entering your seed into a software wallet or computer negates many of the security benefits of using a hardware wallet. If possible, it's always better to restore to another hardware wallet rather than a software wallet.
Dysaky devices are designed to protect you from fraudulent transactions by displaying all transaction details on the device's secure screen. Before confirming any transaction, carefully verify:
Additionally, our cognitive security system will flag potentially suspicious transactions, such as transfers to addresses you've never used before or unusually large amounts. These will require additional confirmation steps, giving you time to carefully consider the transaction.
Remember: If you're ever unsure about a transaction, it's better to decline it and investigate further.
If your device is damaged or lost, your cryptocurrency funds remain safe on the blockchain—they are not stored in the device itself. To regain access to your funds:
This is why properly backing up your recovery seed is critical. Without it, you would permanently lose access to your funds if your device is lost or damaged.
For added protection, consider using our Steel Backup Plate for fireproof, waterproof storage of your recovery seed.